Outlook 365 for Mac
Overview
The following guide will walk you through configuring your custom domain Webnow email address on the Outlook 365 app for OSX.
- Open Outlook 365.
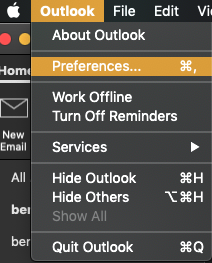
- From the overhead menu, select Outlook and then Preferences.
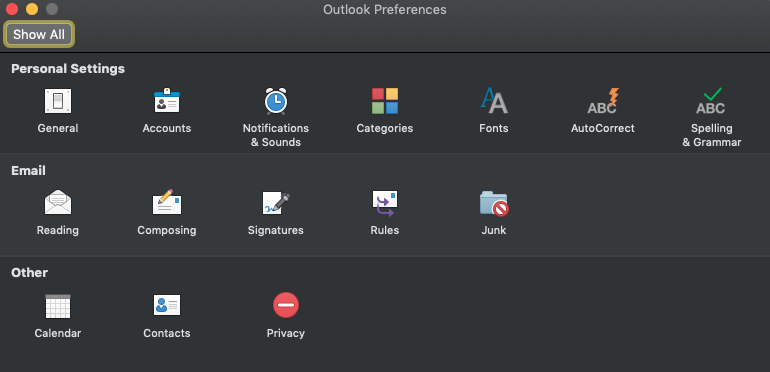
- Select Accounts from the menu.
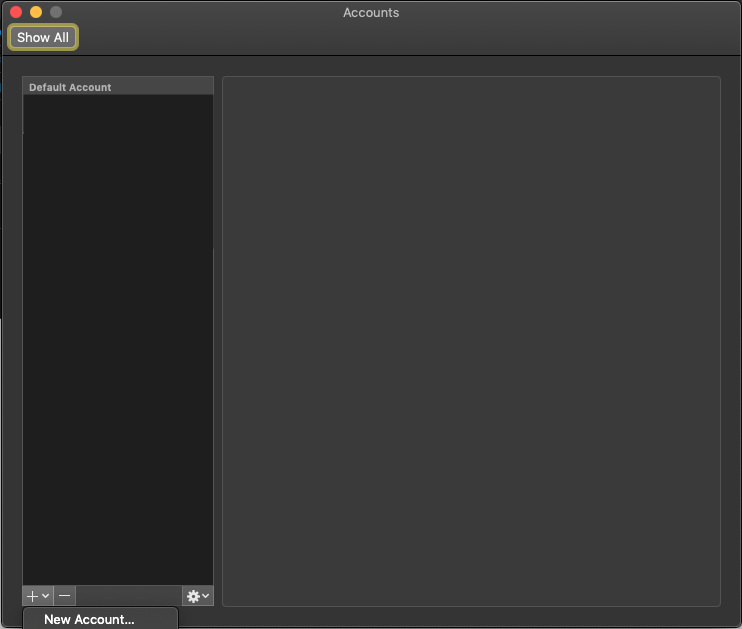
- In the window that shows up, click the + button, then click New Account.
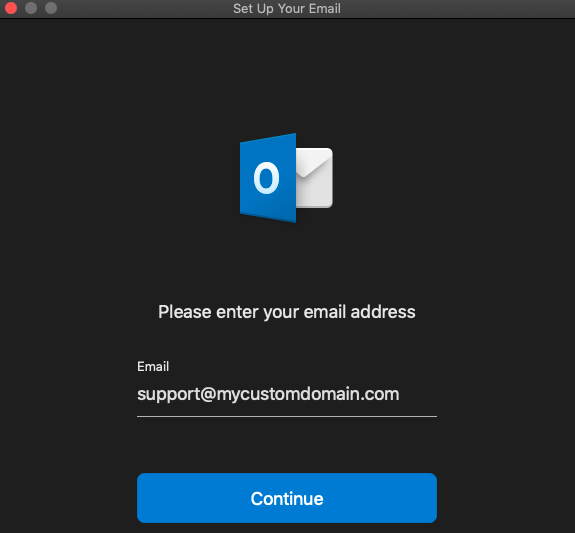
- Enter your email address and press Continue.
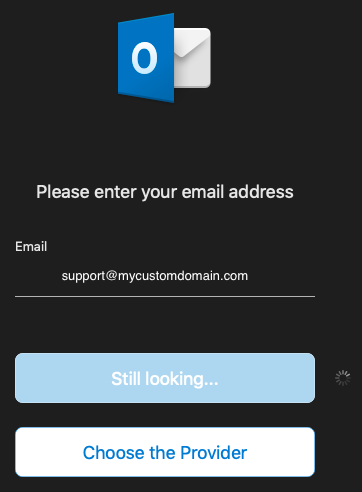
- When prompted, select Choose the Provider.
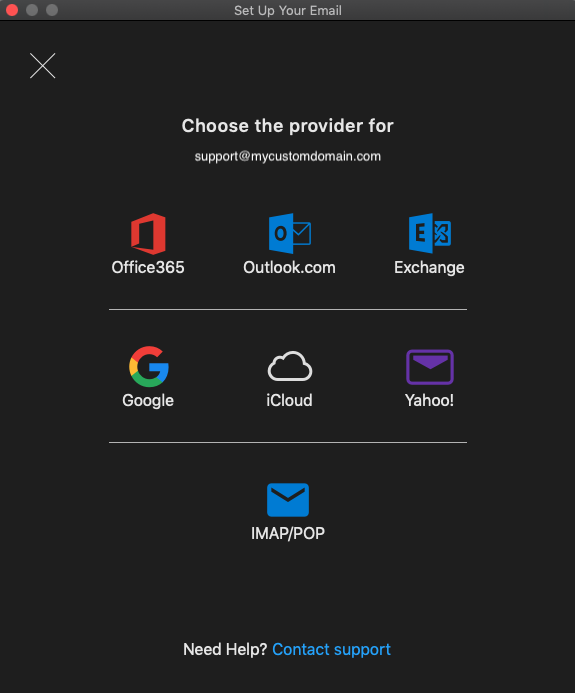
- Choose IMAP/POP from the list of providers.
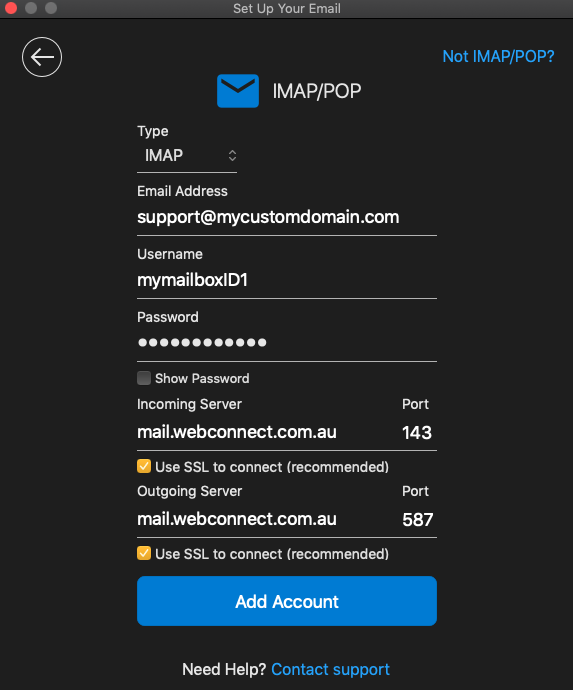
- Enter the following information:
Type: Choose either IMAP or POP.
- Email Address: Your email address.
- Username: Your Mailbox ID (If you do not know what this is, contact your administrator.)
- Password: Your mailbox password.
Incoming Mail Server:
- Incoming Server: mail.webconnect.com.au
- Incoming Server Port (IMAP): 993 or 143
- Incoming Server Port (POP): 110 or 995
- Use SSL to connect: Tick this option only if you are using IMAP.
Outgoing Mail Server:
- Outgoing Server: mail.webconnect.com.au
- Outgoing Server Port: 587
- Use SSL to connect: This should be ticked.
Click Add Account.
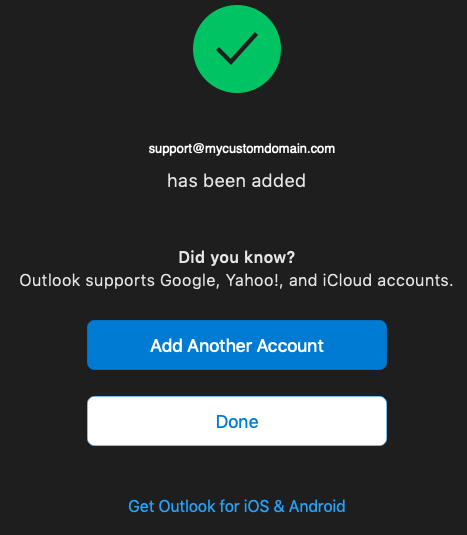
- If you would like to add another account, click Add another account; otherwise, if you are finished, click Done.