Outlook 2019
Overview
The following guide will walk you through configuring your custom domain Webnow email address on Microsoft Outlook 2019 for Windows.
- Open Microsoft Outlook 2019, and you will be presented with this screen:
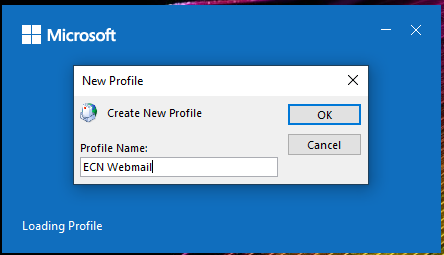
- Add a name for your new profile, and then click OK.
!!! note This will not affect the login process and is for your own reference only.
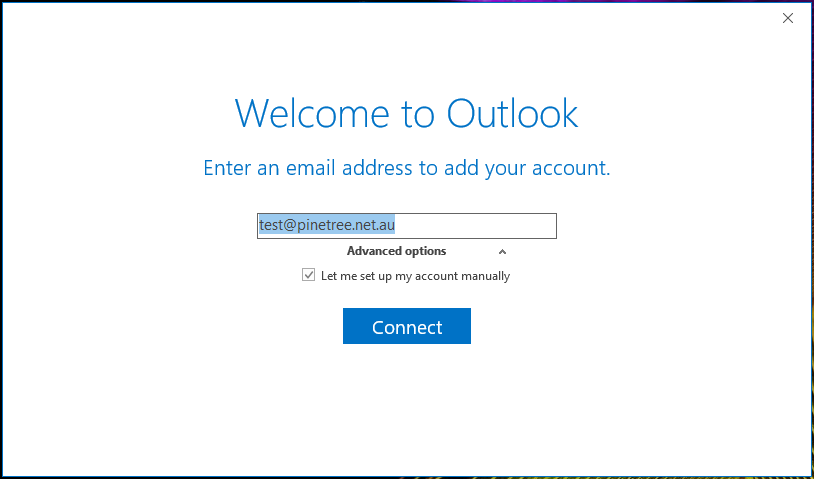
- Type in your email address and then click the dropdown arrow next to advanced options. Tick the box next to Let me set up my account manually. Now click Connect.
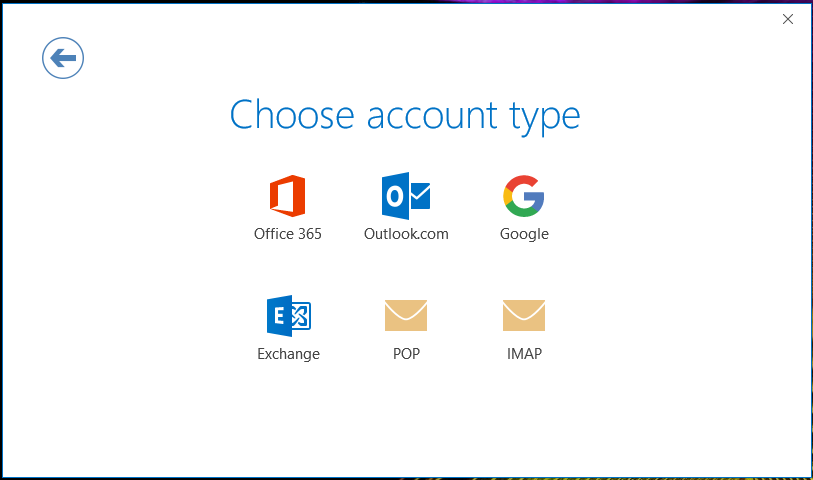
- Click on IMAP or POP.
!!! note You can configure your account as either of these options. The images in this guide will follow the IMAP configuration. The processes are nearly identical, and any relevant details for POP configuration will be provided.
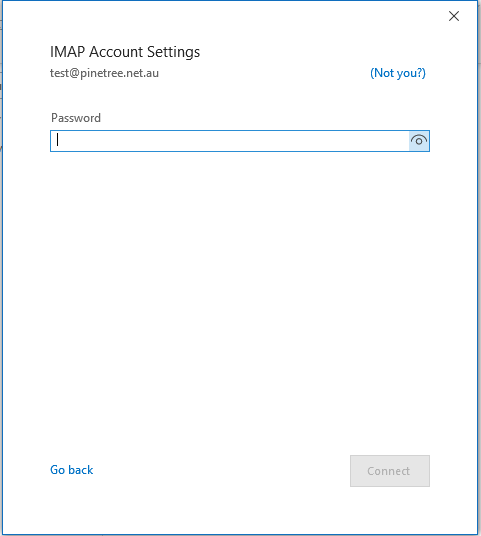
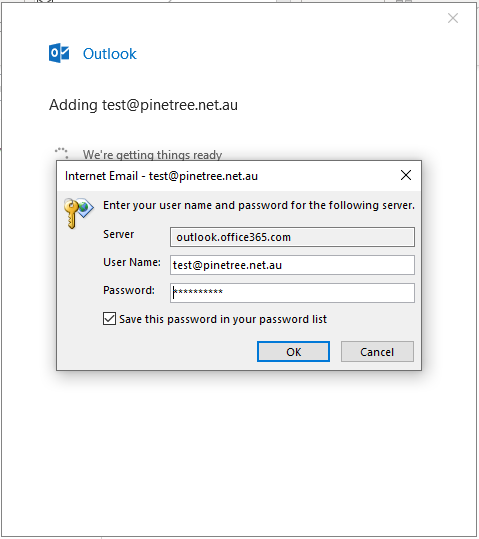
- Enter your password and then click Connect.
- Outlook will now configure your account.
- Click Finish.