iPhone
iOS 18
Introduction
This guide will assist you in configuring your Business Email (IMAP) account on an iPhone running iOS 18. IMAP (Internet Message Access Protocol) enables you to access your email messages from multiple devices, ensuring your emails stay synchronised across all of them.
Configuration Steps
-
Open Settings
- Unlock your iPhone and tap on the “Settings” app on your home screen.
-
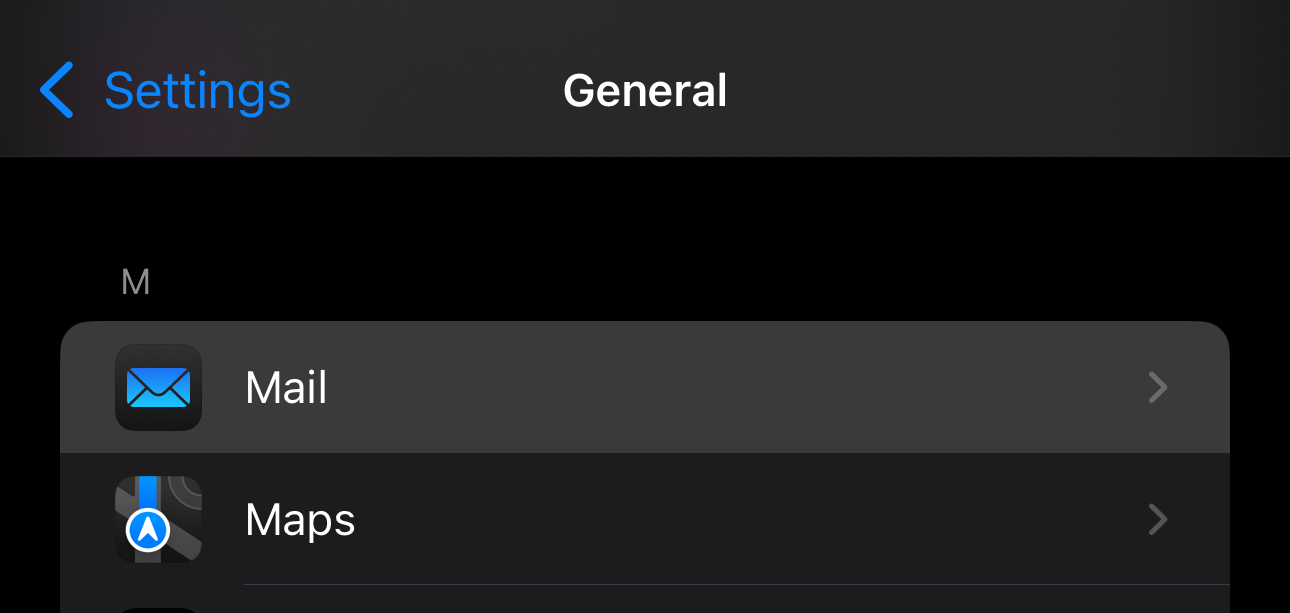
Navigate to Mail Settings
- Scroll down and tap "Apps", now scroll down and tap on “Mail.”
-
Add New Account
- Tap on “Mail Accounts” to view your existing email accounts.
- Tap on “Add Account.”
-
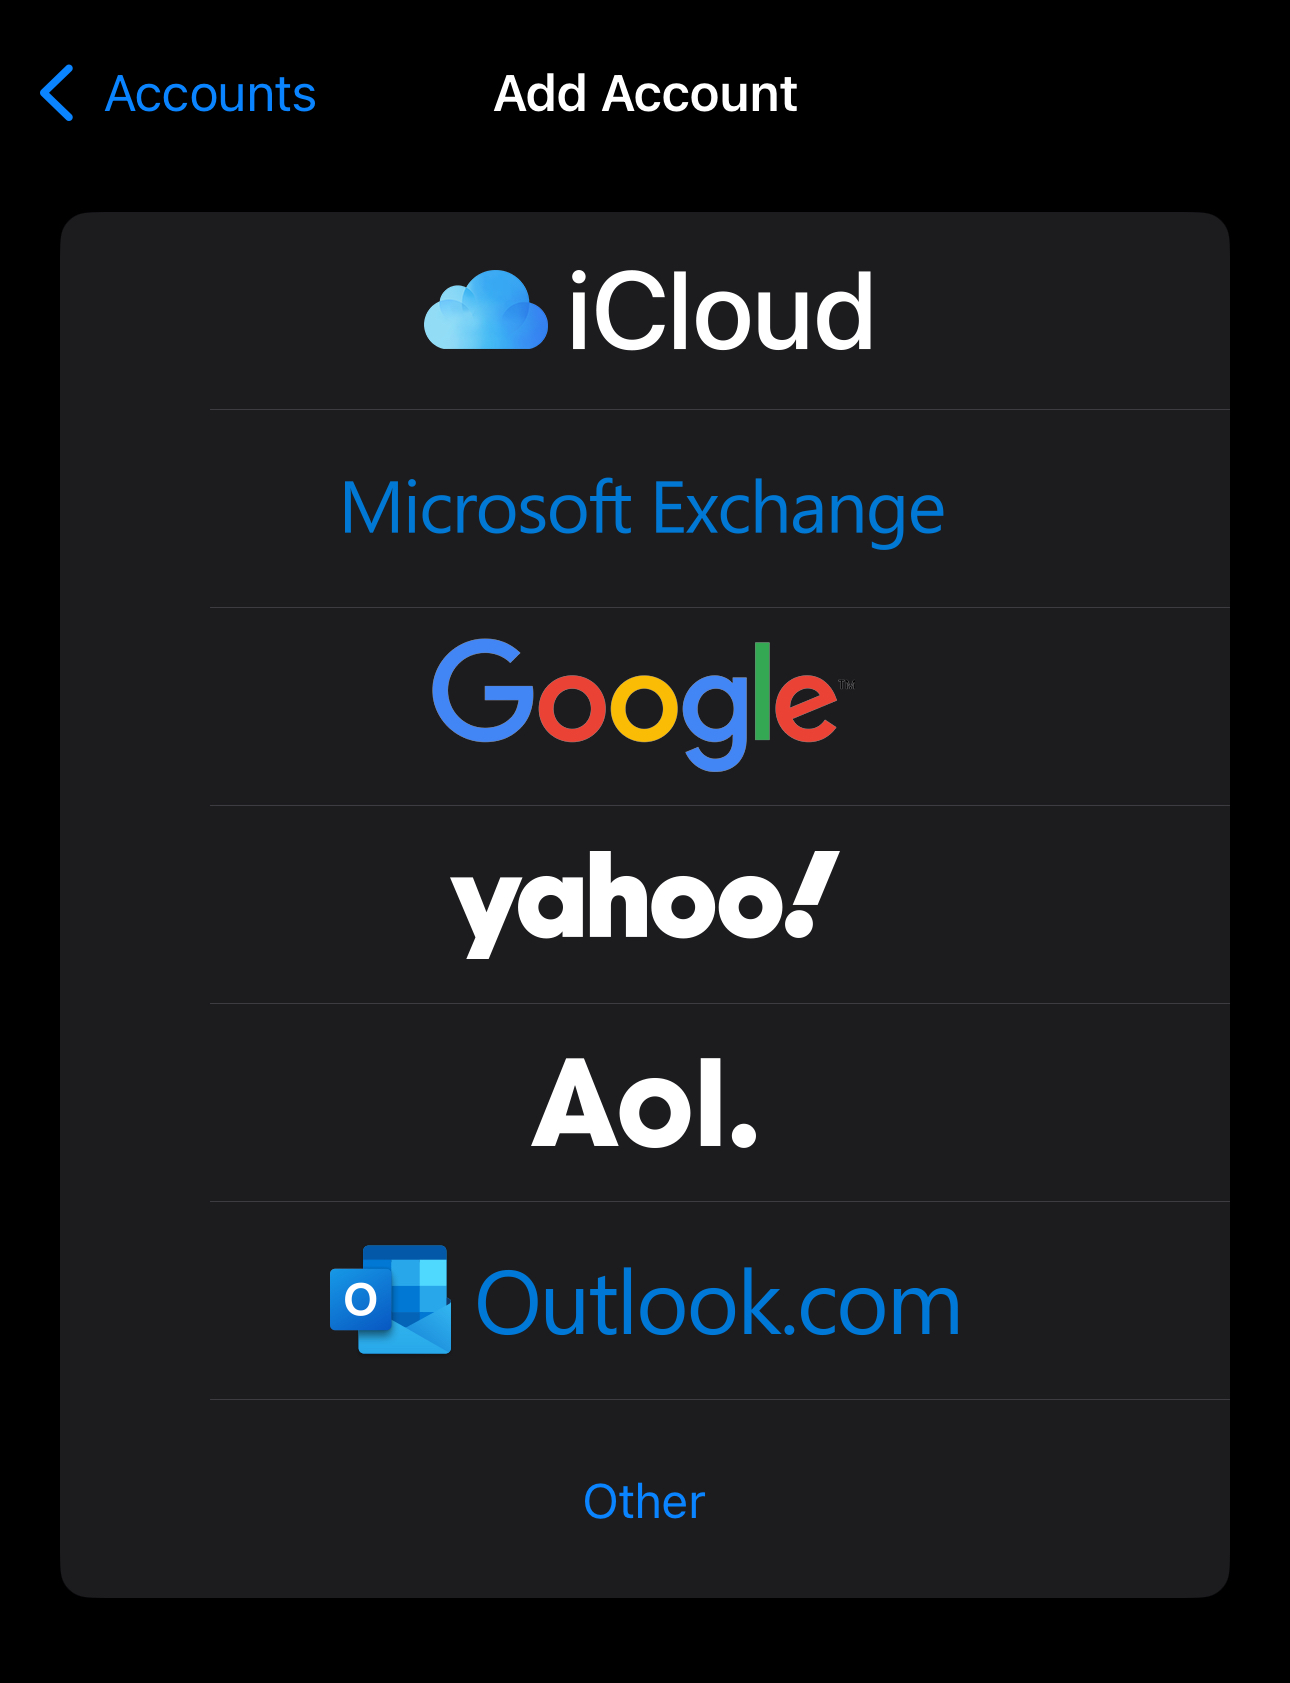
Select Email Provider
- You will be presented with a list of email providers. If your email provider is listed, tap on it and follow the prompts. If not, tap on “Other” to manually configure your account.
-
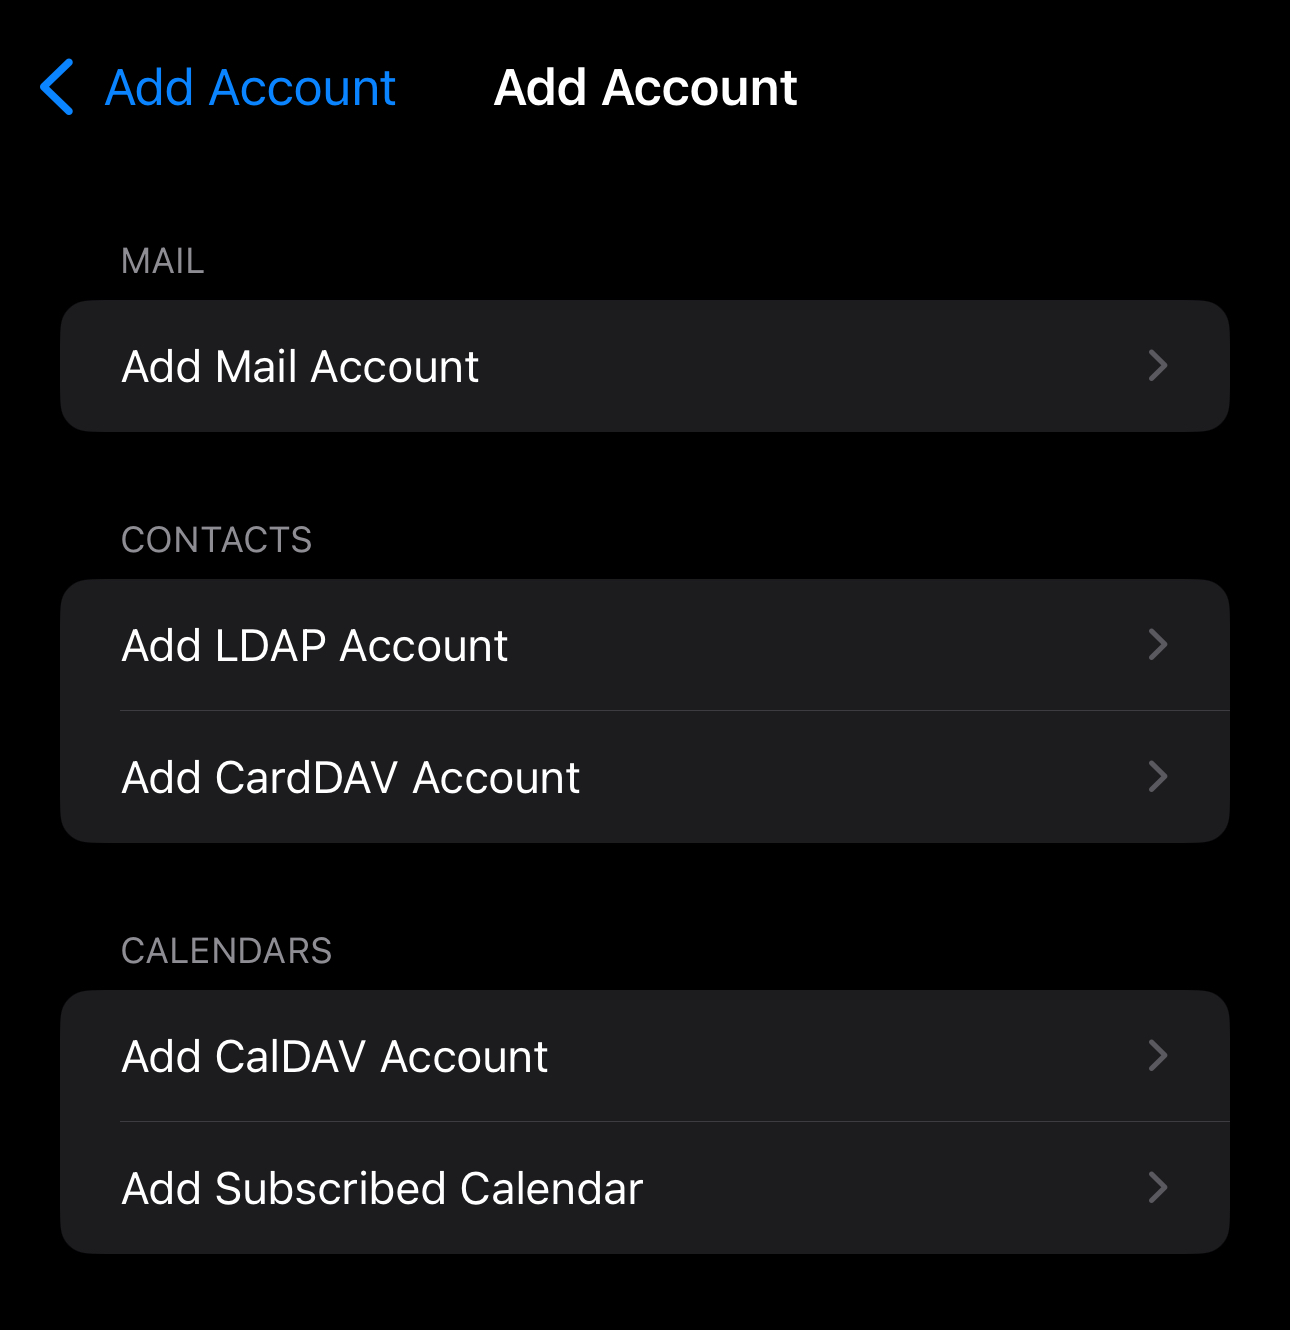
Choose 'Add Mail Account'
- If you selected “Other,” tap on “Add Mail Account” under the “Mail” section.
-
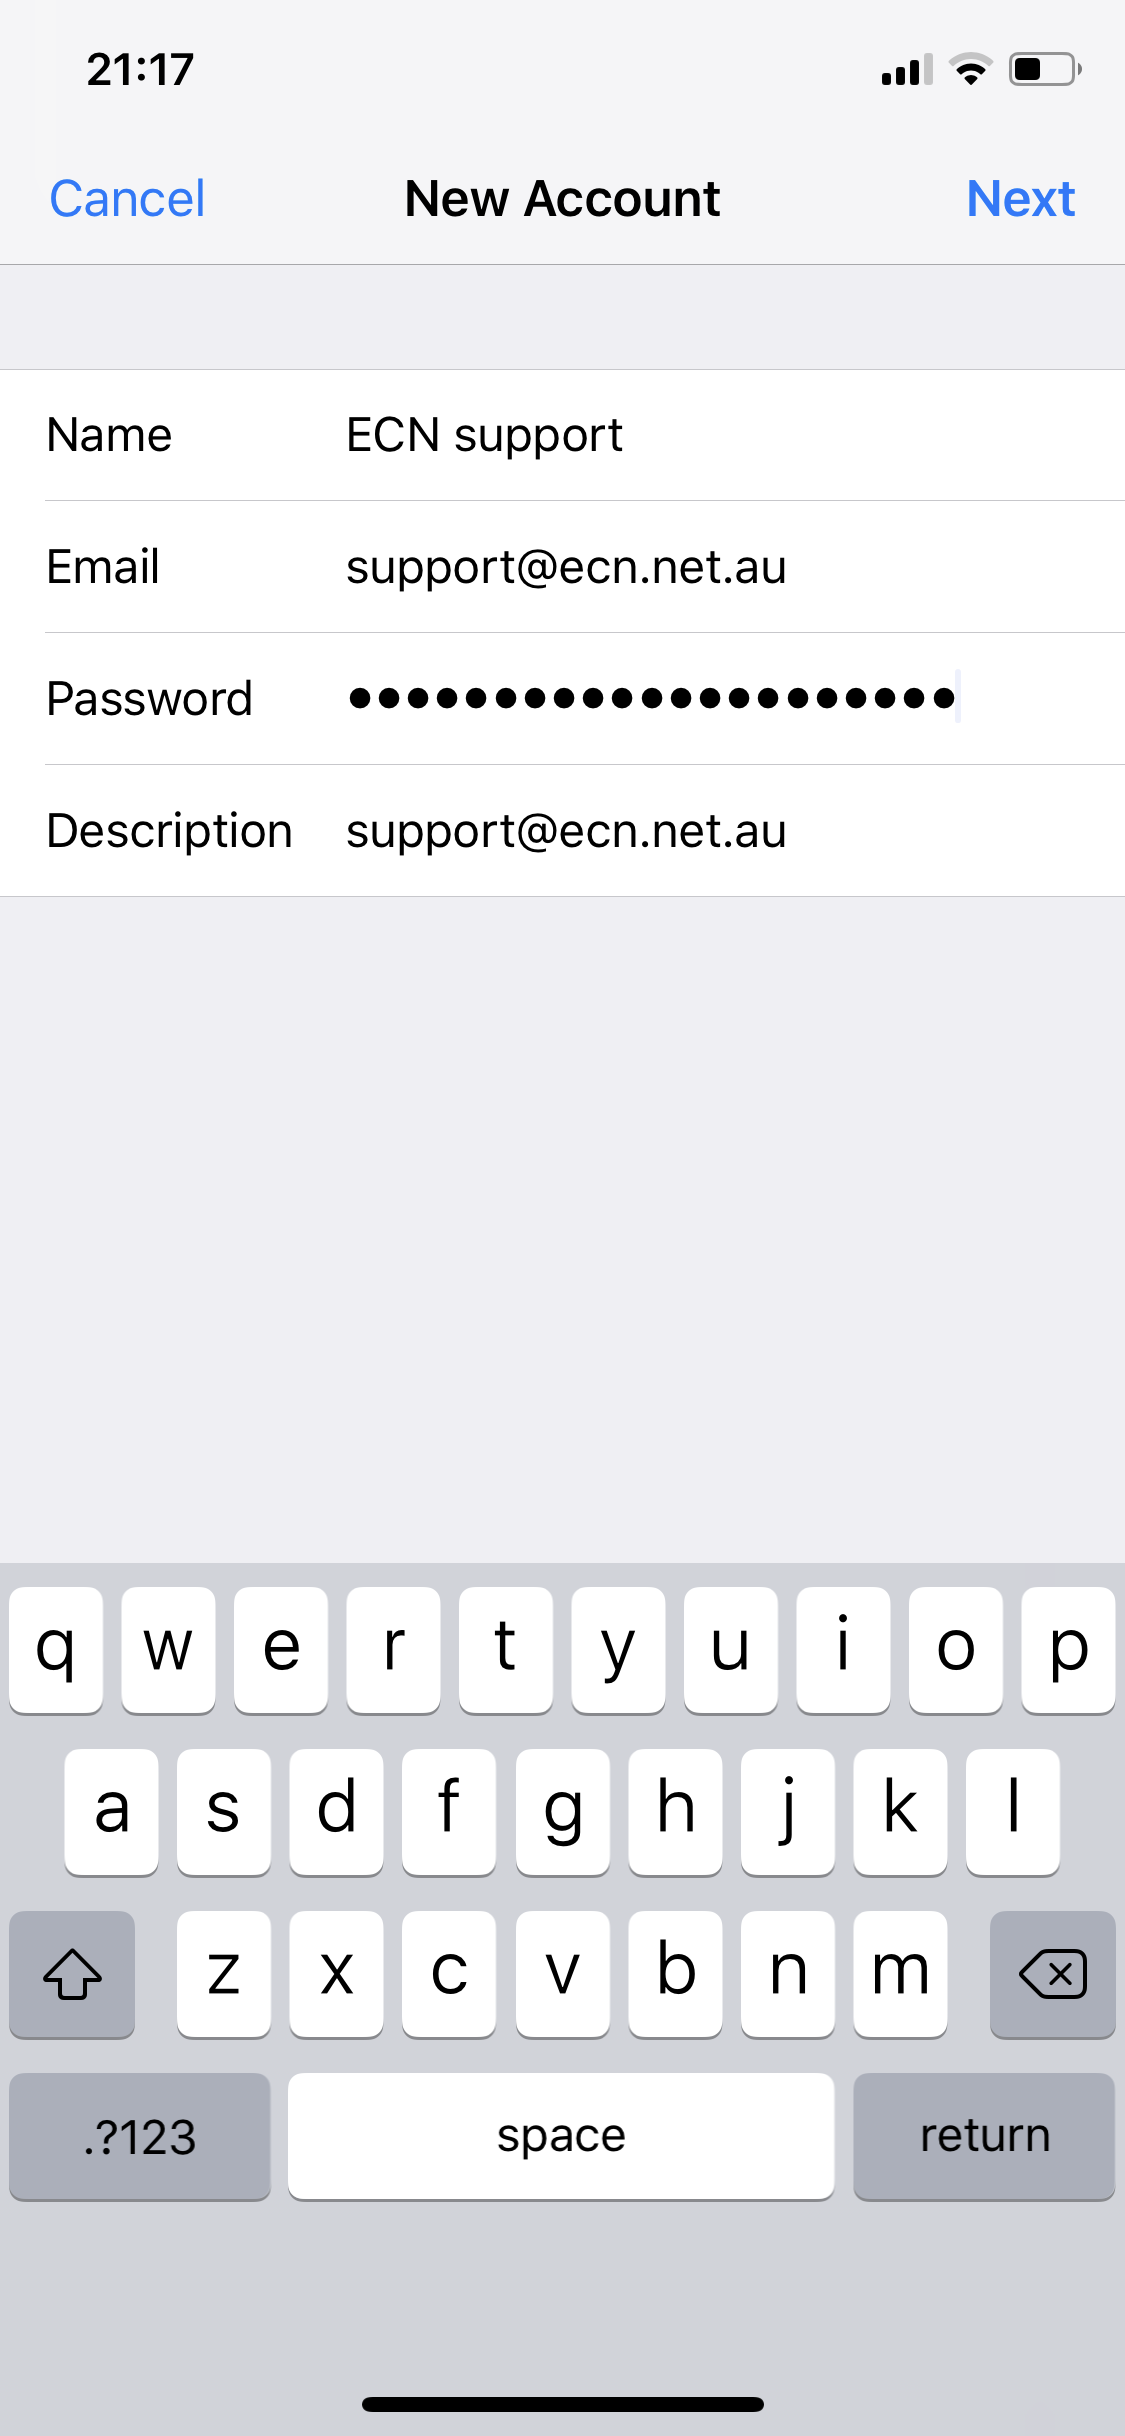
Enter Account Information
- Fill in the required information
Setting Value Name Your name as you want it to appear on sent emails. Email Your full email address (e.g., yourname@example.com). Password Your email account password. Description A description for the account (e.g., “Work Email”). -
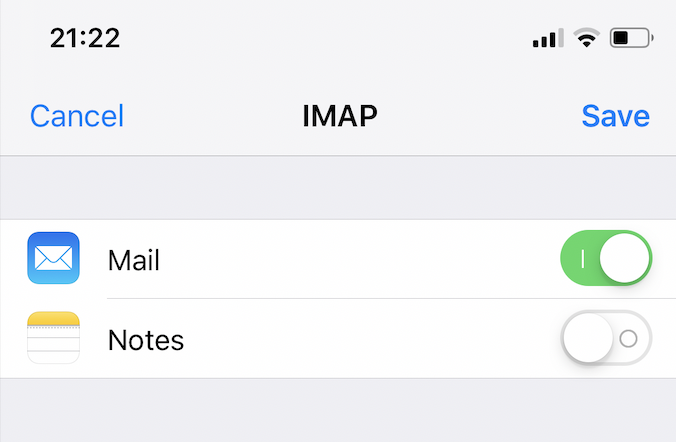
Configure IMAP Settings
- Tap on “IMAP” at the top to configure your IMAP settings.
Incoming Mail Server
Setting Value Host Name mail.webconnect.com.auUser Name Your full email address. Password Your email account password. Outgoing Mail Server
Setting Value Host Name mail.webconnect.com.auUser Name Your full email address. Password Your email account password. -
Save Account Information
- Once you have entered all the required information, tap “Save” in the top right corner.
-
Verify and Adjust Settings
- After saving, your iPhone will verify the account information. If there are any issues, double-check the server addresses and login credentials.
- You can adjust additional settings such as mail, contacts, and calendars by tapping on the account you just added.
-
Test Your Email
- Open the “Mail” app on your iPhone and check if your emails are syncing correctly. You should see your inbox and be able to send and receive messages.
Troubleshooting
- Incorrect Credentials Ensure you are using the correct email address and password. Double-check with your email provider if you encounter any issues.
- Server Settings Verify that the incoming and outgoing server settings are correct. Check with your email provider for the exact server addresses and ports.
- Connectivity Issues Make sure your iPhone is connected to the internet via Wi-Fi or cellular data.
Conclusion
You have successfully configured your IMAP email account on your iPhone running iOS 18. If you encounter any issues, our support team is ready to assist.
iOS 17
Introduction
The following guide will walk you through configuring your custom domain Webnow email address on the Mail app for iPhone.
Configuration Steps
- Open the Settings app by clicking the
 icon.
icon.
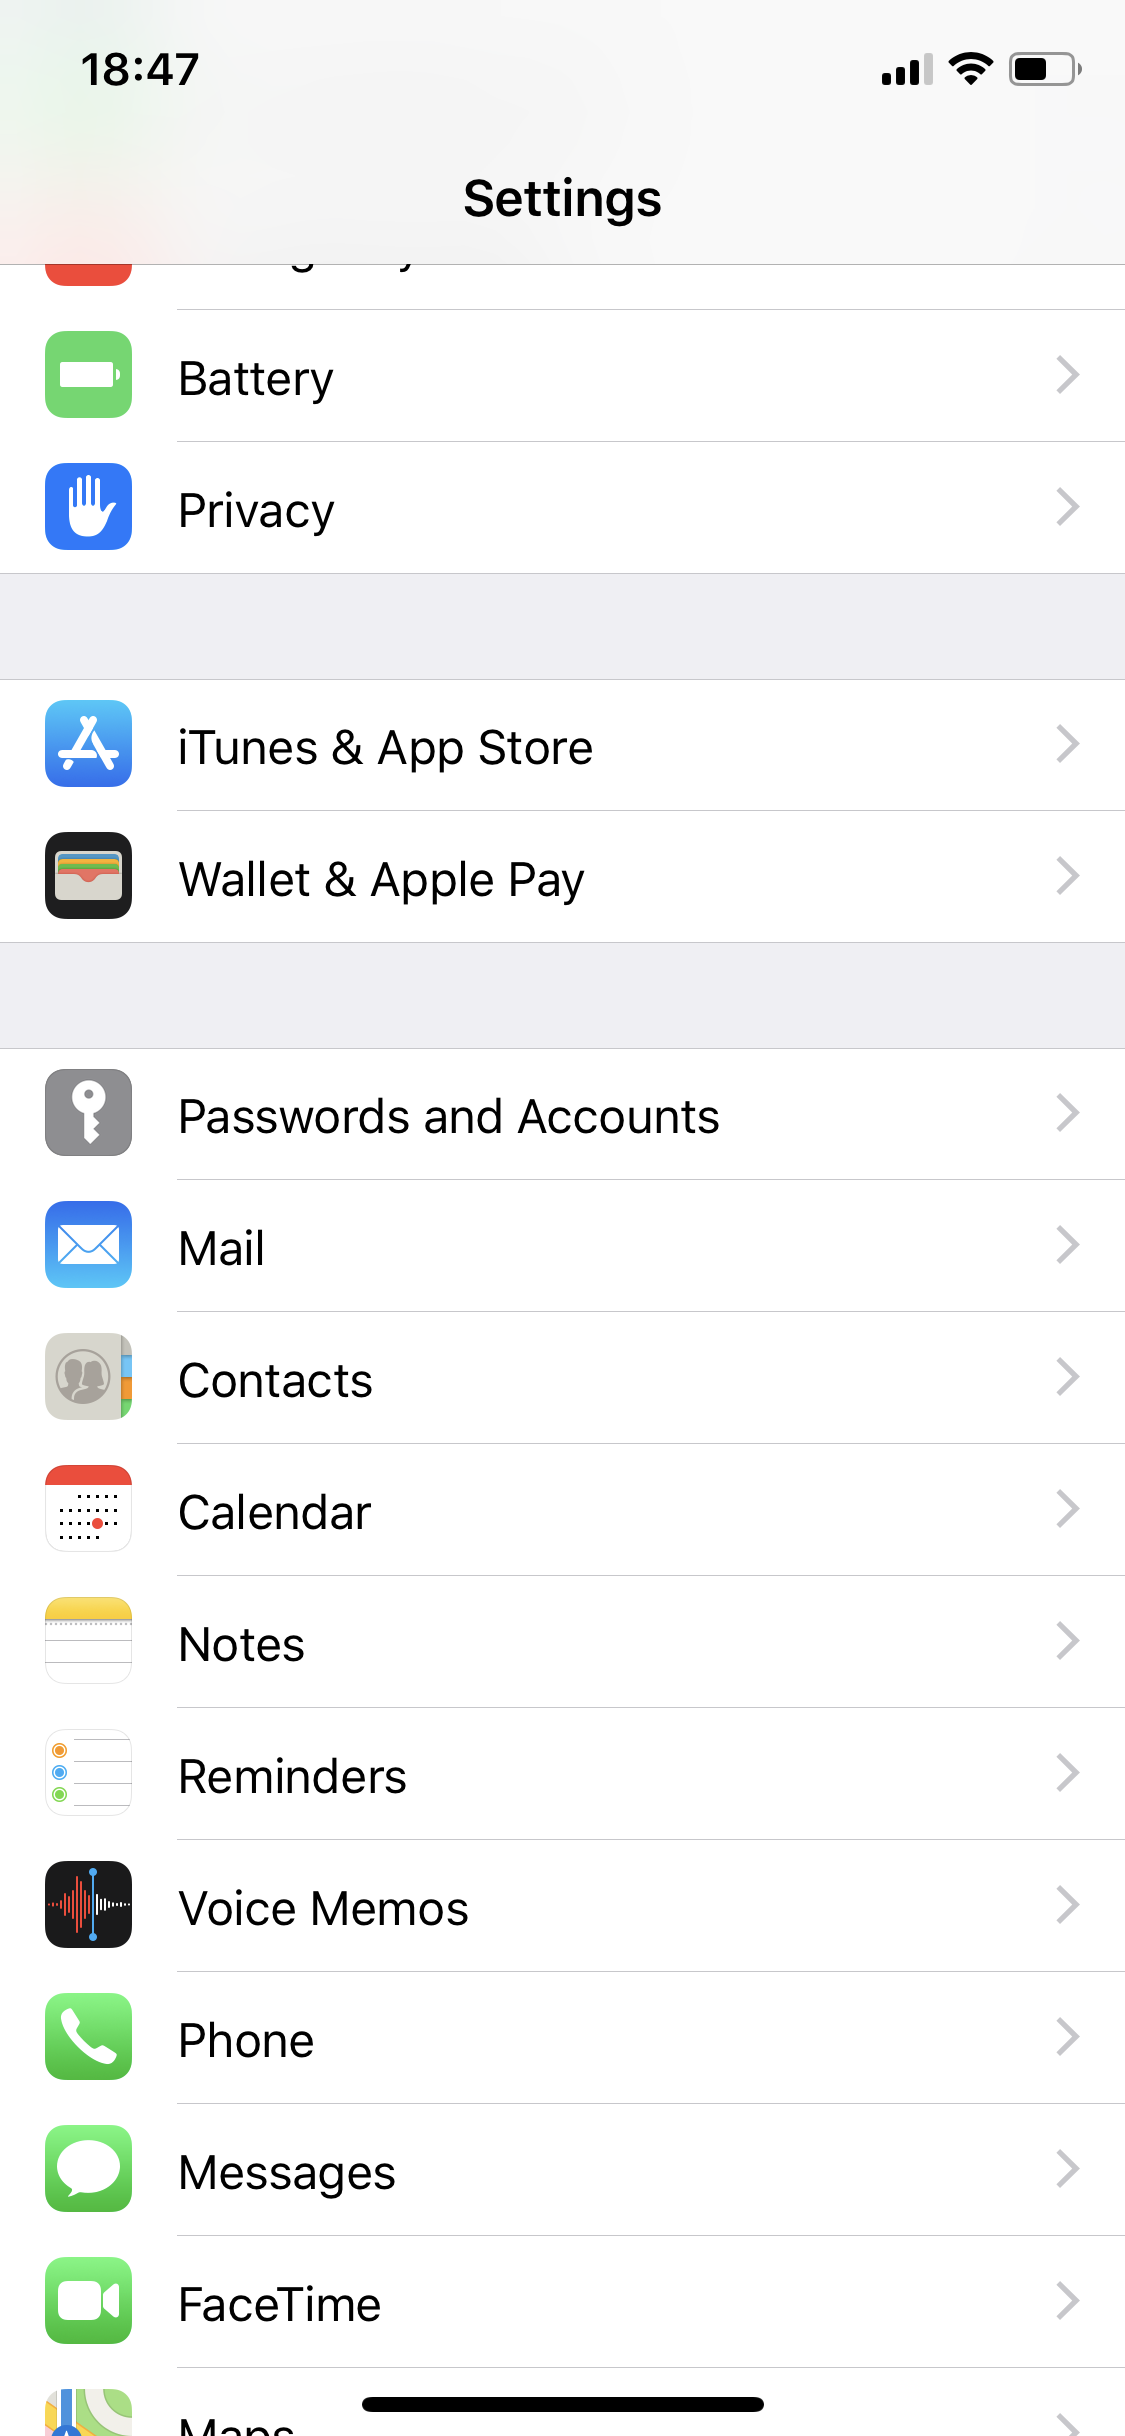
- Click Passwords and Accounts.

- Click Add Account.
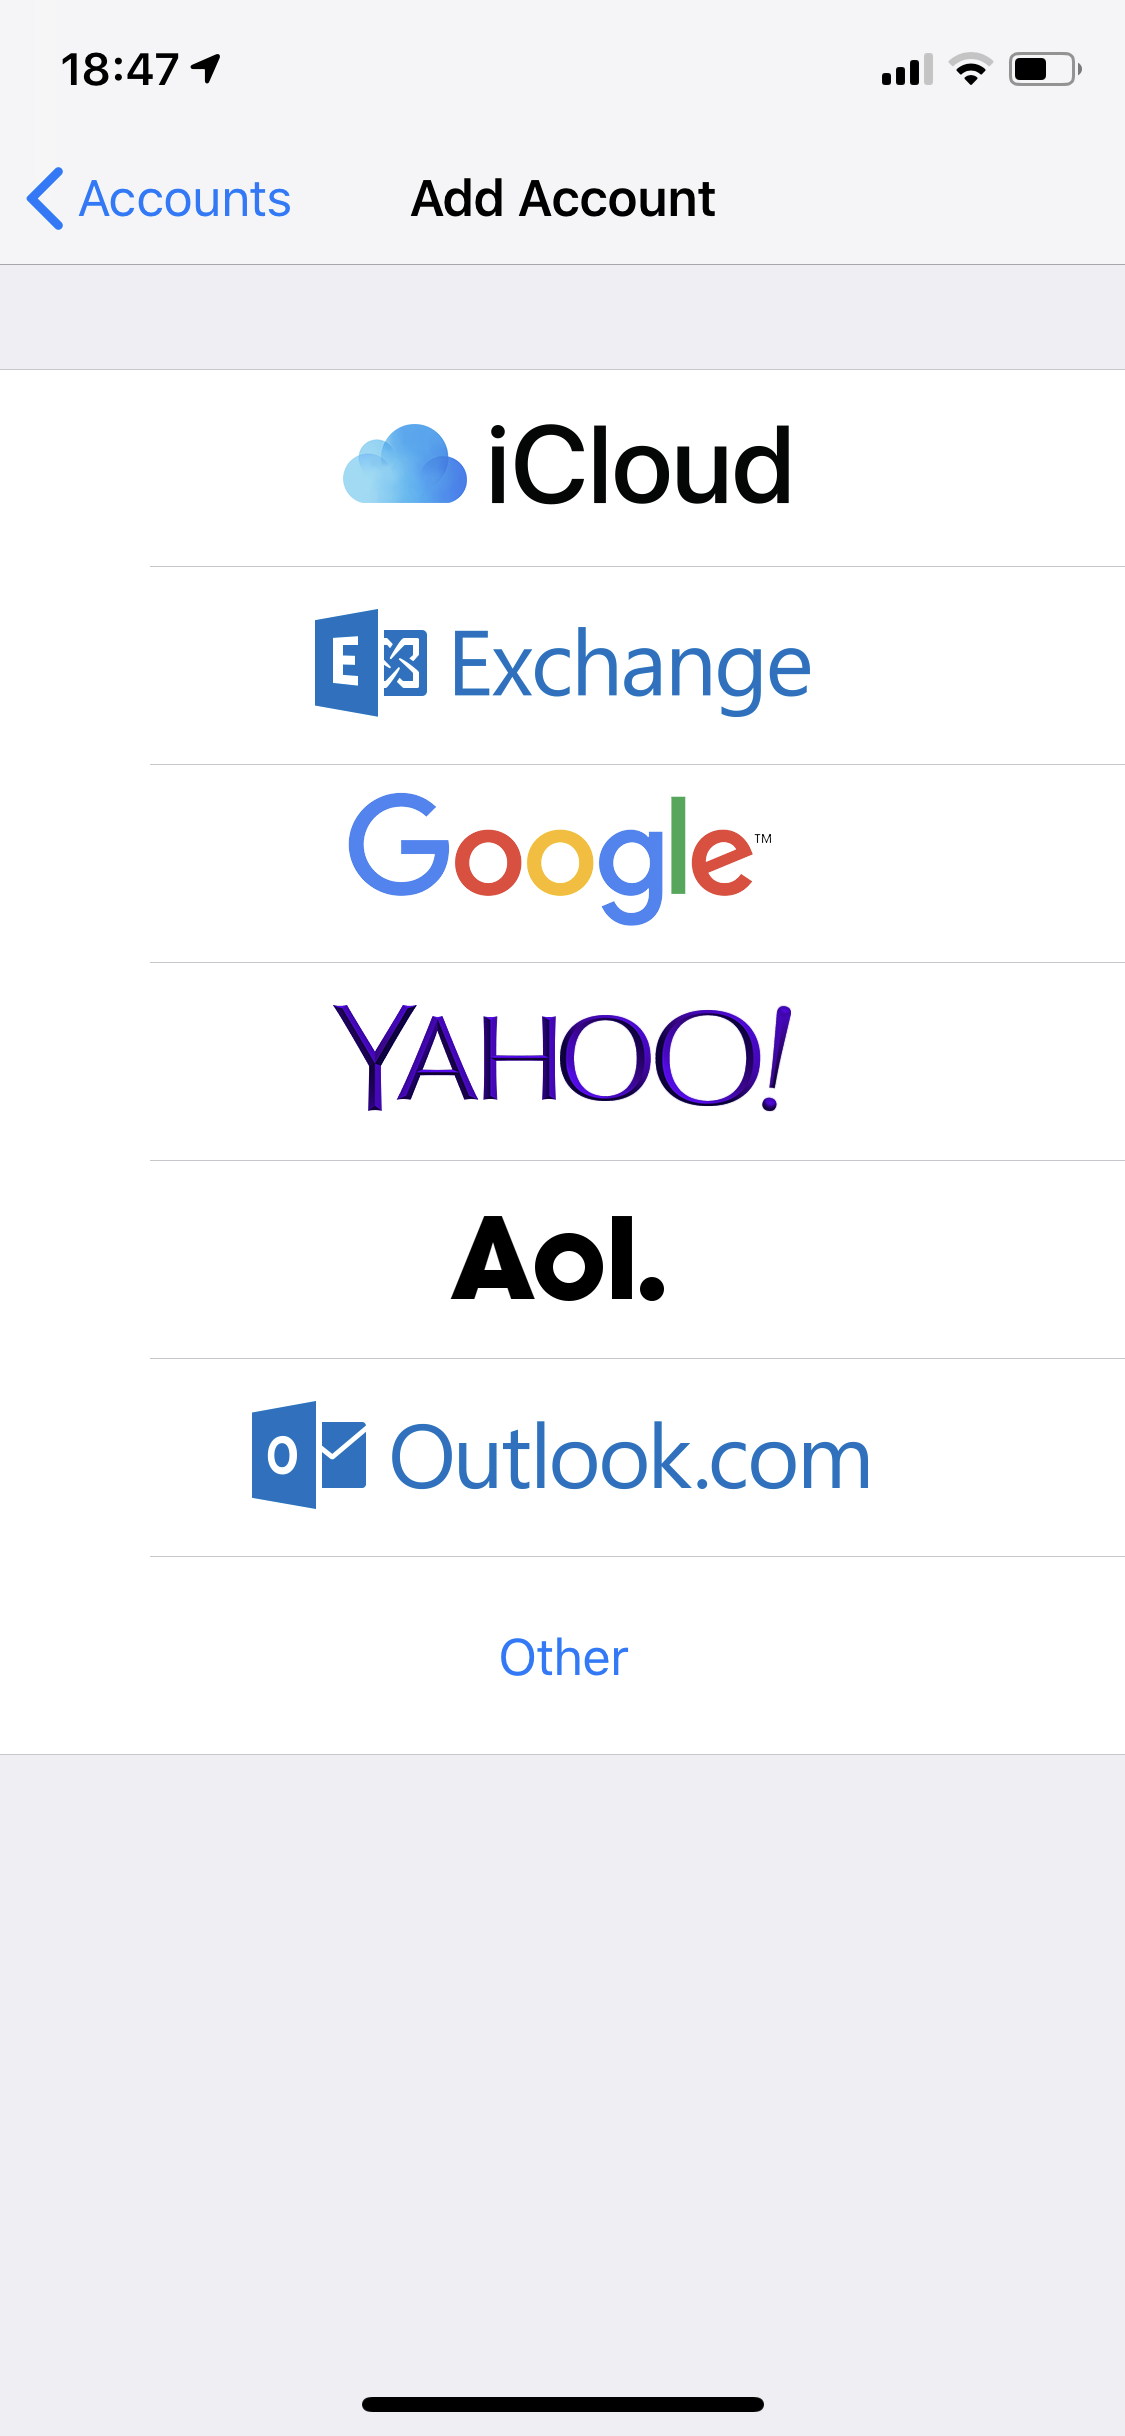
- Choose Other from the options menu.
-
Enter the following information
-
Your Name.
- Your Email address.
- Your Password.
- A description for your reference.
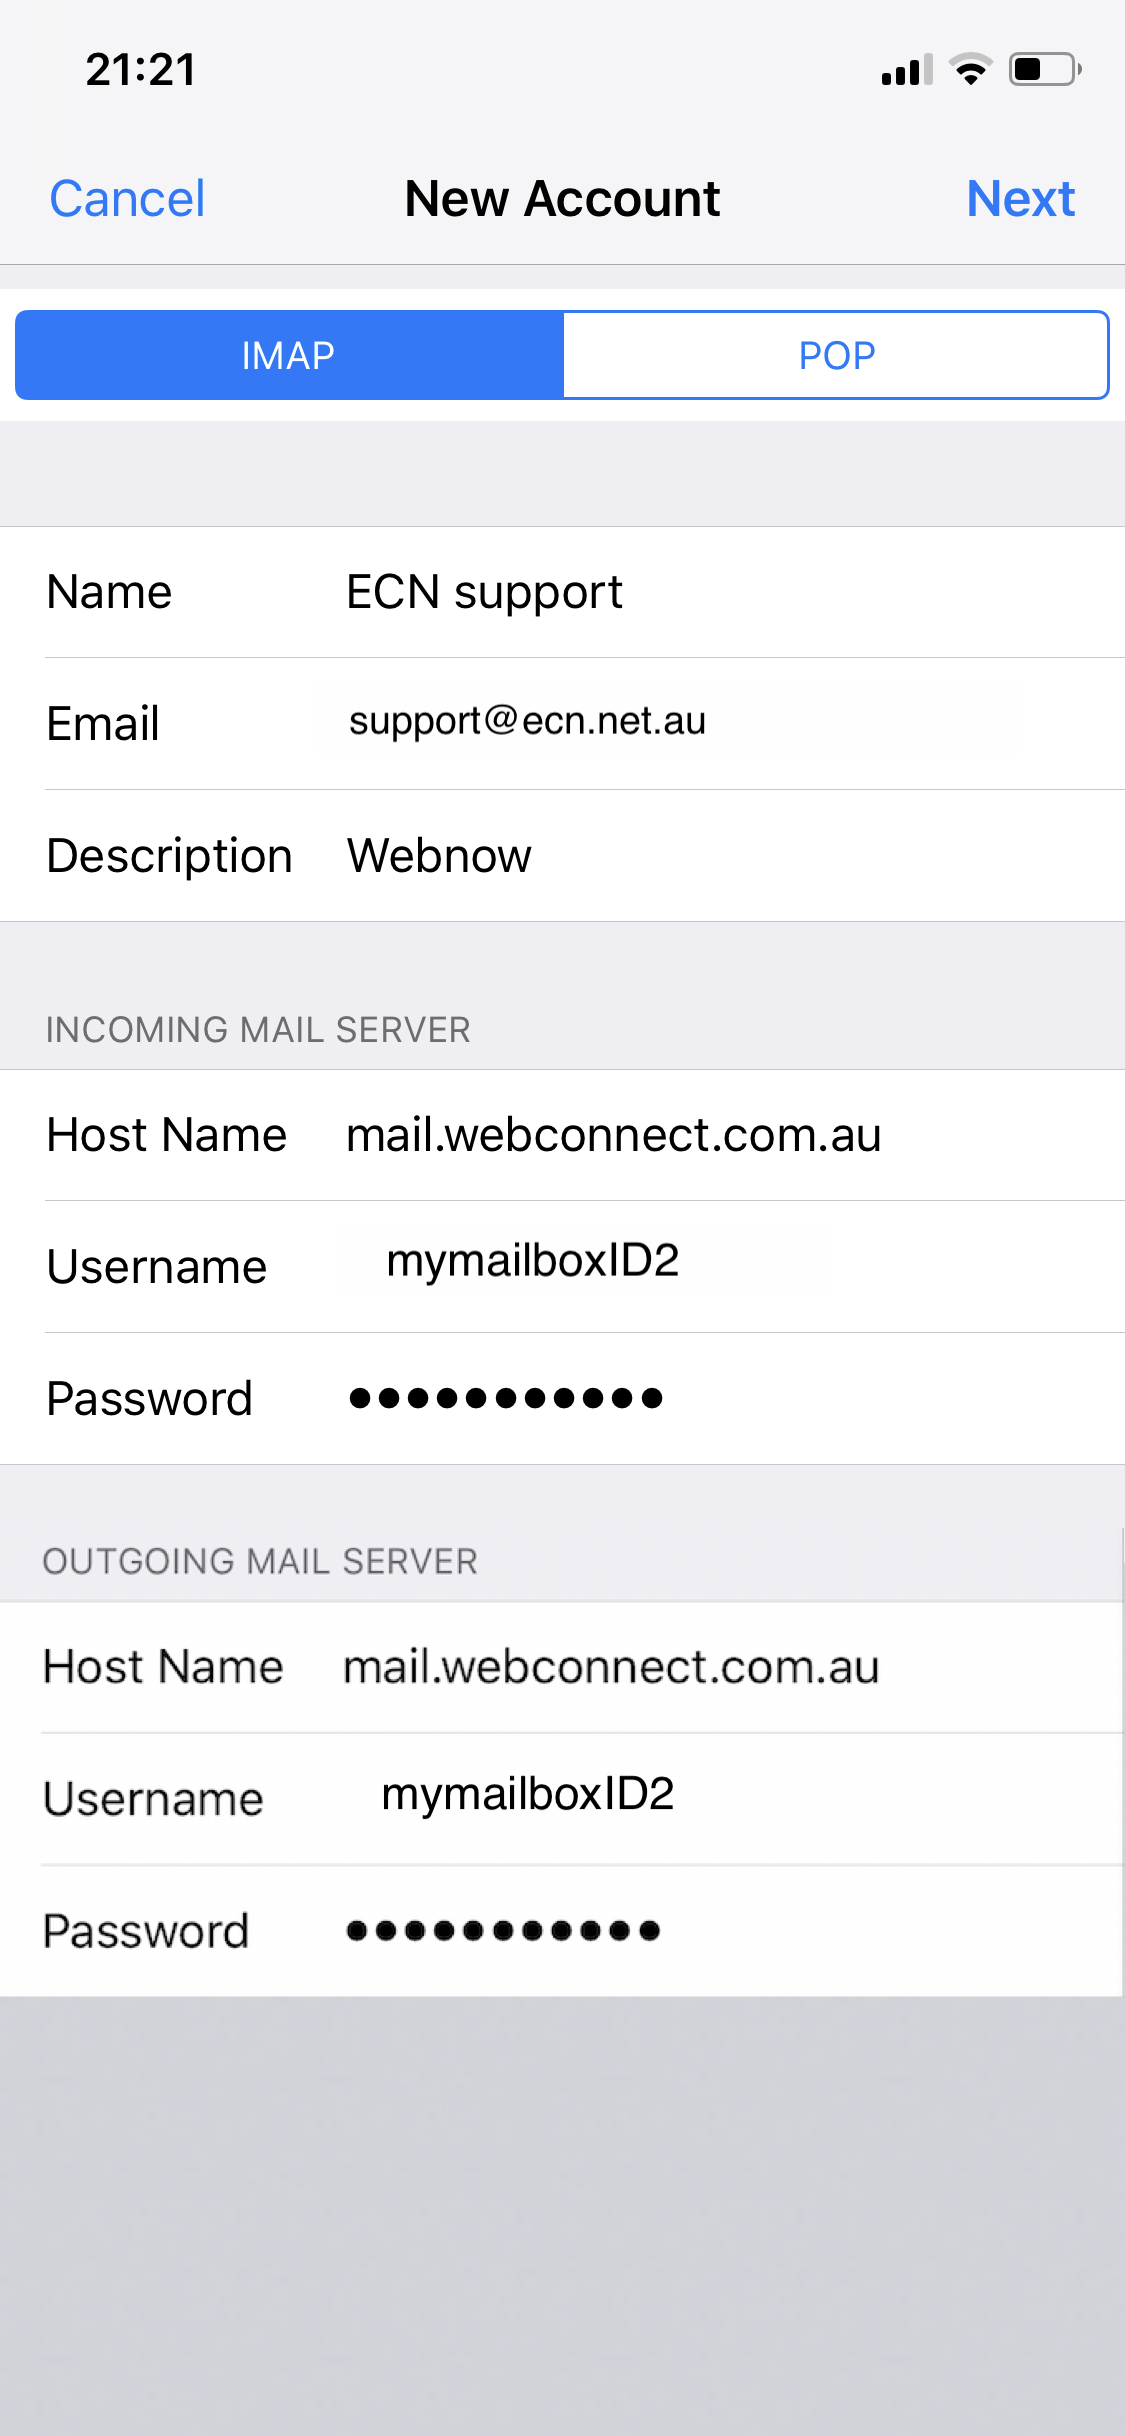
- From the top of the screen, choose IMAP.
Enter the following information
Incoming Mail Server Settings
- Host Name mail.webconnect.com.au
- Username Your mailbox ID (found in the Portal).
- Password Your email password.
Outgoing Mail Server Settings
- Host Name mail.webconnect.com.au
- Username Your mailbox ID (found in the Portal).
- Password Your email password.
Once you have verified the information is correct, click Next.
- Click Save to complete the setup process.
Troubleshooting
- Incorrect Credentials Ensure you are using the correct email address and password. Double-check with your email provider if you encounter any issues.
- Server Settings Verify that the incoming and outgoing server settings are correct. Check with your email provider for the exact server addresses and ports.
- Connectivity Issues Make sure your iPhone is connected to the internet via Wi-Fi or cellular data.
Conclusion
You have successfully configured your IMAP email account on your iPhone running iOS 17. If you encounter any issues, our support team is ready to assist.